Showing posts with label Pick-a-Lilies. Show all posts

Wednesday, March 20, 2013

The Last Straw

 It snowed again yesterday.
 
 And although my little lucky penny doll was delighted for the opportunity to try out the new cape I made for her.....
 
 .....I am very tired of this view.
 
 Come to think of it...I'm tired of this one as well.
The good news is, today is the official start of spring!
Time for some fun,
a few changes,
and lots of color.
 
I find trays are the handiest when a transition is in order.
Moving to another room? Grab a tray.
TV dinner time? Grab a tray.
Welcome in a new season? Grab a tray.
 
 Considering I don't want to look at the snow out my window why would I want to look at it on my wall? Splashing in a spring rain puddle, however, now that looks like fun!
 
 Button, button, who's got the button?
I do!!!
Lots of them too.
And after an afternoon spent happily stringing them along I must admit.....
 
.....things are beginning to look up!


Thursday, January 31, 2013

Fun For More Than Just One!!!

 I recently had a request from a new dear friend for a goodie package of supplies. She has plans to make her own Pick-a-Lily Pincushion doll and was especially fond of the prints I used to make Lily Maida in my tutorial. (I've got it posted by steps down along the sidebar if your interested in taking a peek at her!) Since I had just enough of what was needed I told her "Sure thing," and got to work!
 
 Now I suppose it all could have been folded into a neat little pile, sealed in a baggie, and sent on it's way but I figured what fun was that? I had a hankering to arrange something and since the garden flowers are quite out of season I had a go at arranging the supplies instead and guess what?
I LOVED IT!
 
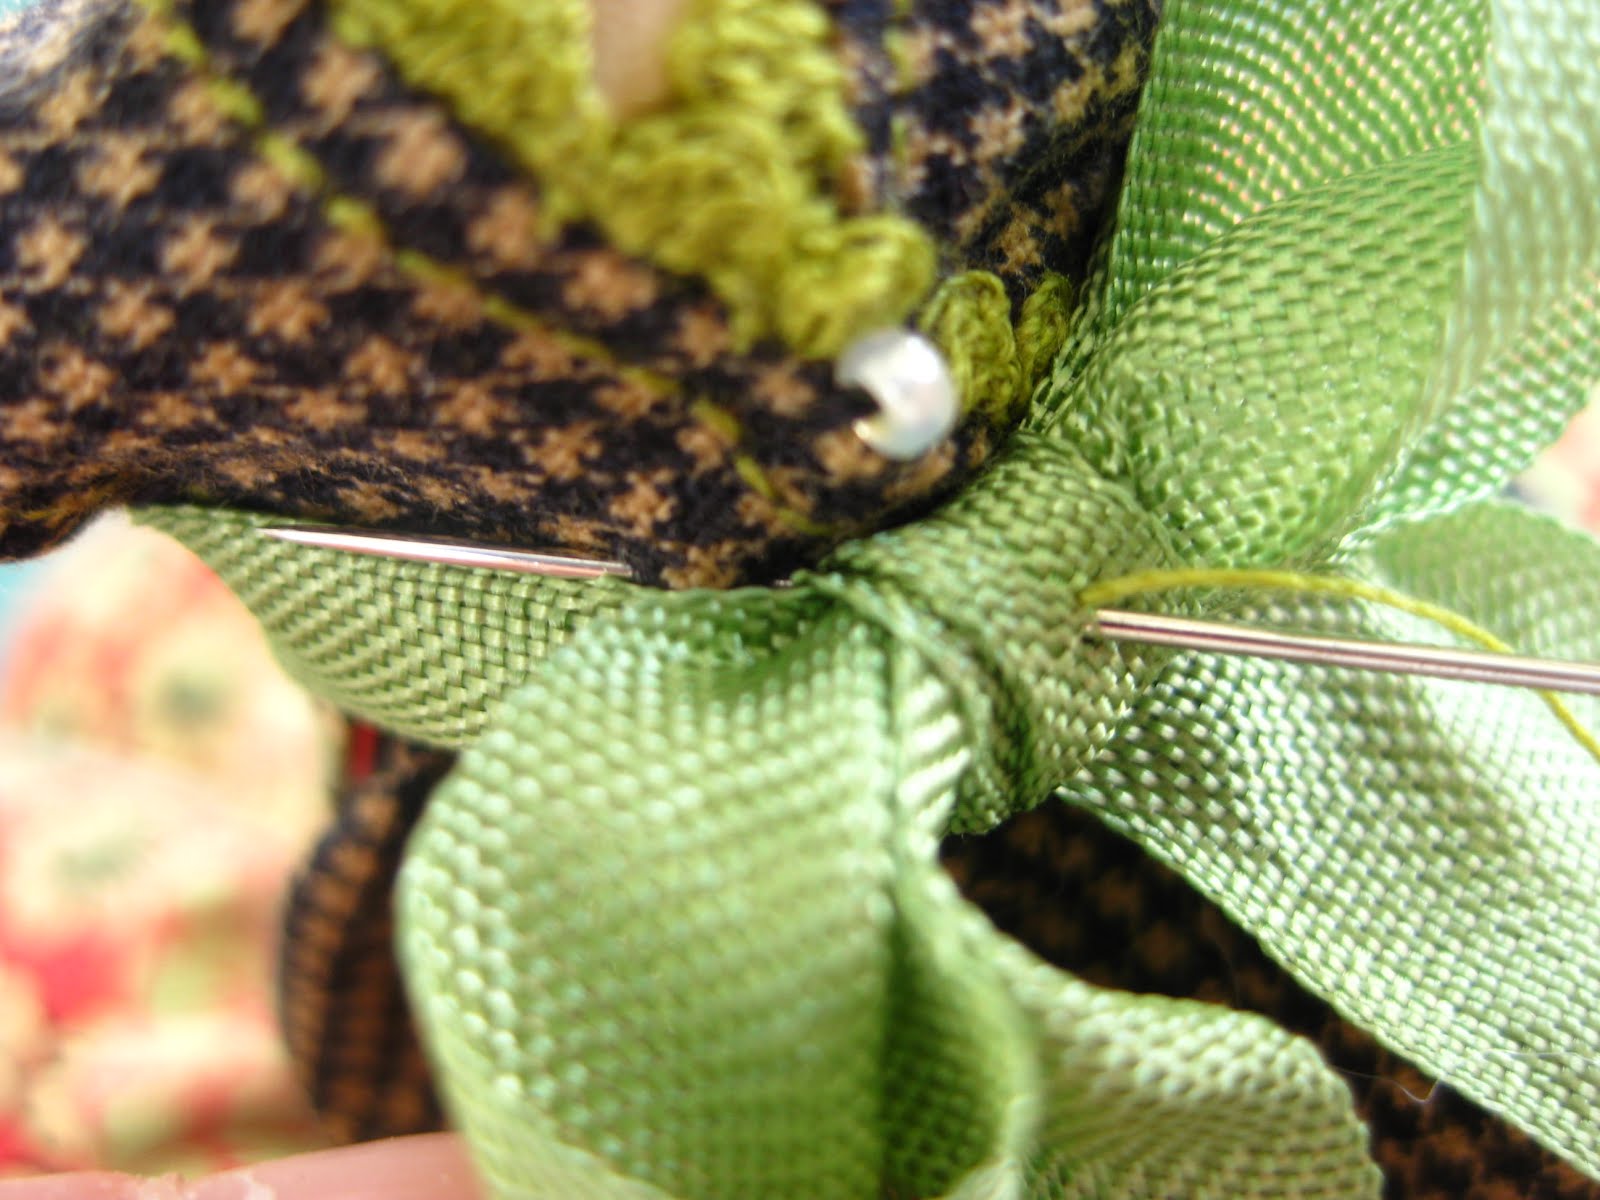
  My favorite part was coming up with a way to package the little seed beads. With only six in the lot they were sure to get lost if not contained in some way. In the end it only took a needle, some thread, and a few quick stitches to make them travel ready.
 
 I'm hoping she's as pleased with the results as I was. The only problem was it left me wishing I had a package of crafty goodies coming my way as well.
 
Lucky for me there is a dear sweet Gail Wilson in this world! Her kits are the ultimate in crafty goodness and wouldn't you know I just happened to have one tucked away.
 
 And so up next on the "Fun" agenda.....I'm going to try my hand at penny wooden doll artistry!
 

Thursday, May 31, 2012

Made Crafty Wish Ticket #4 - A Bitty Batch of Painted Clothespin Kits

 Success!
The sun came out, the paint dried, the gloss too, and these little dearies were finally ready for their big reveal as.....
......the "Make Your Own Lily" Painted Clothespin Kits! Perfect for those of you for whom painting is not your cuppa.

 In each kit you will find one happy little face.....

 .....and all the other fixing you'll need.....

 .....to get started on your little friend!


Happy Crafting!!!


Wednesday, May 9, 2012

Made Crafty Wish #1 - Pick-a-Lily Fun!


Technically I did not make a Pick-a-Lily today but I will be making a listing of one in the shop. First, however, I'll share a bit about them and what makes them one of my all time favorite projects.


While I'll admit to my fair share of frustrations during the early days of creating them, I can now say I thoroughly enjoy the entire process.....from painting their little faces,


 to adorning them with an assortment of bits and baubles,


and finally selecting a name by which to call them.


If you've been following along you'll know that Lily Maida here is my most recent Lily. She was outfitted with a kerchief and tussie mussie.


Others, like Lily Maud, prefer straw hats and baskets for their flower picking adventures.


Winter wanderers require a woolen cape to keep cozy.....


.....while more domestic Lilies stay close to home and task. They can most often be found keeping house,


practicing the needle arts,


and caring for their four legged friends.


Regardless of their personalities they all come wrapped in a shiny bow.....


.....and ready to be your pincushion friend!


Tuesday, May 8, 2012

Made My Pick


Tah-Dah!
Crafty wish number one has been selected.

What now you wonder.....
well once a week, most likely on Wednesdays, one of the wee crafty wishes will be written up right here. I promise to provide pretty pictures and pertinent prose as well as post a product (perhaps even a pair) over at Piccalilli Patchwork for potential patrons. Interested individuals are invited to inspect my inspirations and industry. Fabulous fun and folly for sure! 


Sunday, April 29, 2012

Made a Lily - Step 15


Step 15 - Introducing Lily!

Are you ready for some tussie mussie fun? It's quick and easy and oh so cute! 


First things first.....cut a 1.5" square from a coordinating fabric.


Fold it in half so as to create a triangle. Wrong sides should be together.


Fold it in half once again so that raw edges meet up and another triangle is formed.


Stitch along the raw edges with a 1/8th inch seam allowance and then clip the corners off.


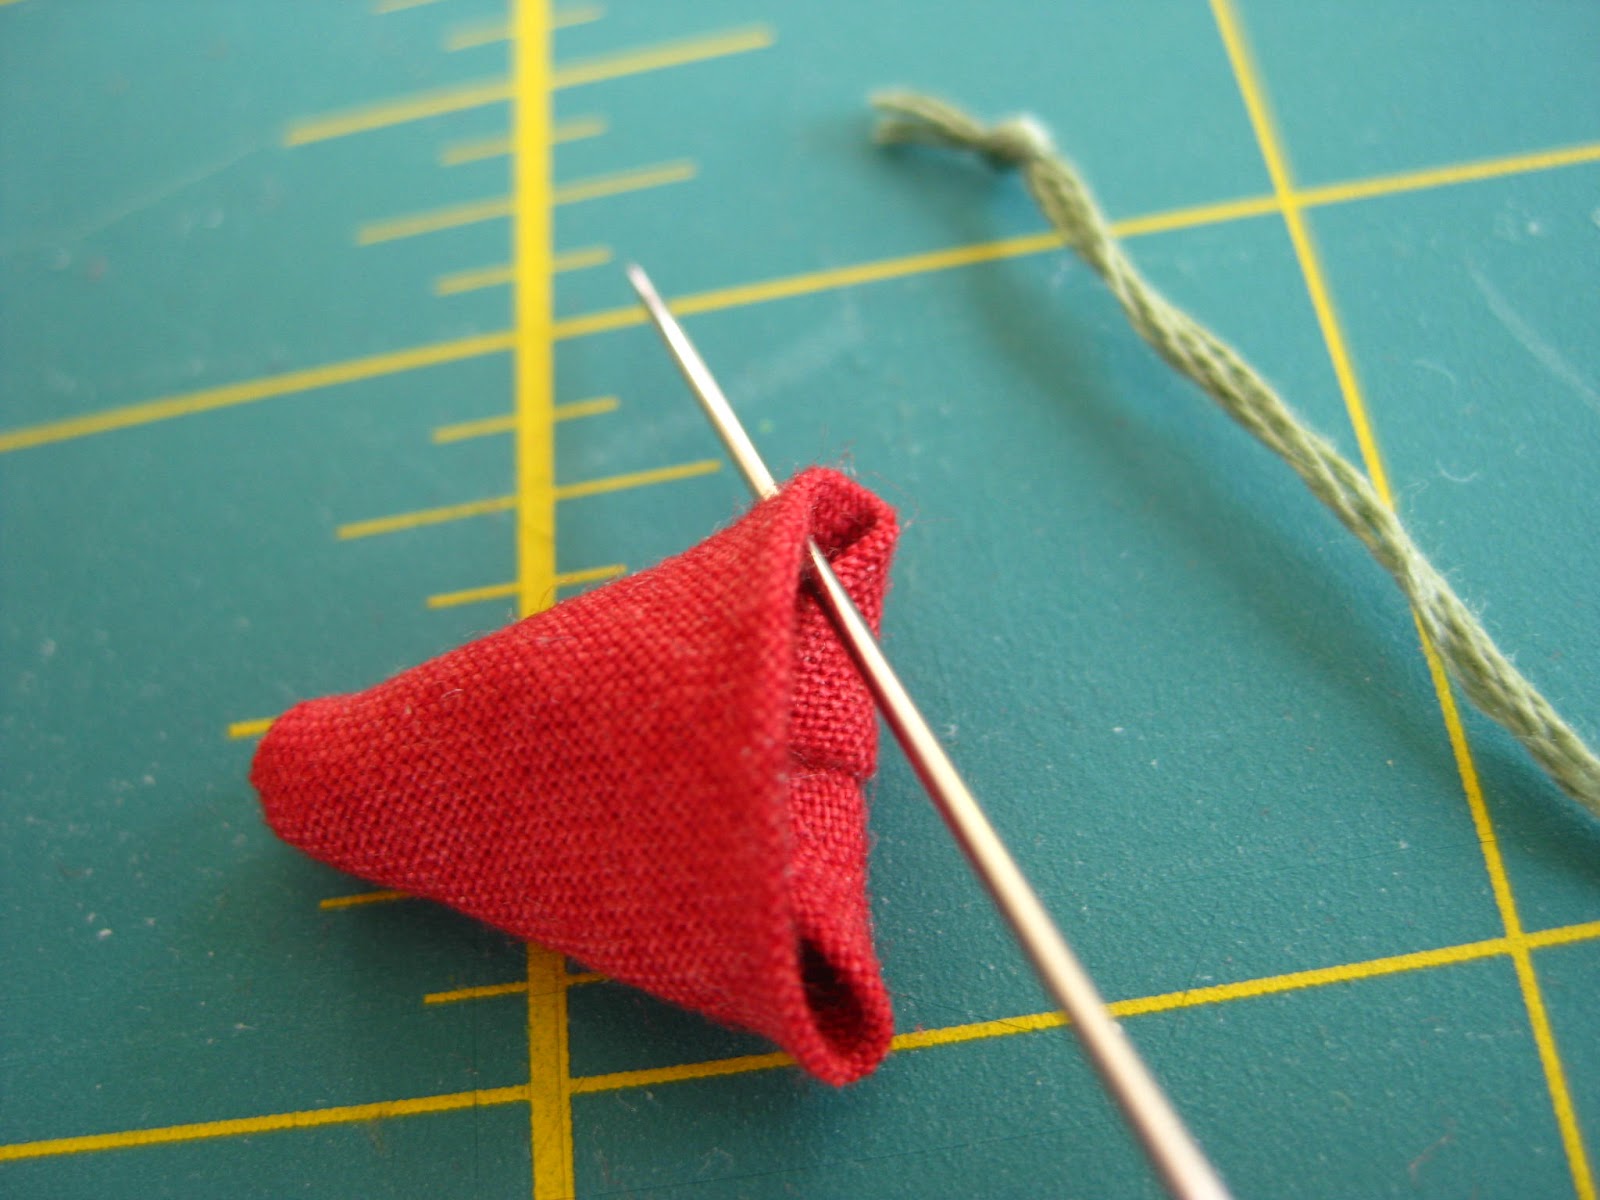
Turn your triangle inside out to give you the cone shaped base of the tussie mussie. A pair of tweezers or some hemostats are often quite helpful to complete this maneuver.


Tuck the top overhanging piece with the raw edges over itself and into the cone.


Now for a handle! Thread your needle with a length of embroidery floss and knot one end. Draw the
needle through the cone from the inside left and out.


Repeat on the other side only this time draw the needle from the outside in. Leaving about 1" of floss for the handle, pull the rest through and knot it securely on the inside of the cone.


Clip some of the paper flowers apart and shorten the stems so they will easily fit into the tussie mussie cone.


Very carefully fill the cone almost to the top with a glue gun. . . . .


. . . . .and then quickly position the flowers in place before the glue starts to dry.


The handle should fit quite easily over the Lily's hand. If the flowers seem a bit in the way just squish them around a bit.


Have you decided on a name for your Lily yet? I've chosen Maida for this one. With a permanent pen write out your Lily's name. And by all means don't forget to include you own as well!


A quick coat of gloss and you are done!


And so, without further ado, let me introduce you to Lily Maida, the little maid of May Day!


Monday, April 16, 2012

Made a Lily - Step 13

Step 13 - Lily's Apron


After a wonderful day out yesterday (thanks for the well wishes!) I was up bright and early this morning to make good on my promise of a tutorial!


The day ahead looks to be nearly perfect weather wise so let's get right to work on that apron and leave some time for fun this afternoon!

First things first, you're going to want to trim down the width of the apron to be that of 1 inch. Don't included the crochet lace in the inch but rather measure up from the bottom edge of the fabric and cut off the extra from the top raw edge.


You should have two pieces like this. Toss the top portion and take the bottom to your ironing board.


Make two pleats on one end of the apron. Once formed they should measure approximately 1/4 inch in total. Pin them in place and. . . . .


. . . . .do the same on the other side.


Give a quick press down on the pleats. Don't think you need a little iron like this one to do so, I was just too lazy to drag my big one down out of the nook this morning but most often that's what I use.


Remove the pins and set it free!


In order to keep the pleats in place thread up your needle and take a row of tiny stitches along the top edge so it looks like. . . . .


. . . . .this!


Position the apron so that the middle panel is centered under the buttons and pin it in place.


Make a series of whip stitches to secure the apron piece to the waist line of your Lily.


These stitches will not be seen so neatness is not a prime concern. It's more important to make sure the fabric edge lies as flat as possible against the torso.


Time now for the apron ties. Cut your selected seam binding or ribbon to a length or 20 inches.


Press lightly to remove any wrinkles.


Find the half way point of the binding, fold it in half lengthwise, and press down a one inch segment. Only this very middle portion should be pressed in half, leave the rest of the binding as is.


Position the folded section in the front of the apron and hold in place. . . . .


. . . . . while tying a single knot in the back.


Tie the ribbon tails into a bow. At first it will be to large like this but. . . . .


. . . . .by gently pulling on the tails and re tightening the bows you will eventually be able to create a smaller version of it like this.


In order to keep the bow as is take a stitch up through the center knot.


When you take the needle back down through the center knot angle it so that it can them emerge slightly to the left and directly above the ribbon edge.


Working your way around the doll's torso make a series of itty bitty whip stitches all along the top edge of the ribbon.


Once the top edge is completed continue in the same manner along the bottom edge of the ribbon.


Next I like to secure the bows in place against the back of the doll. Using the same needle and thread emerge out from the back of the shirt slightly above the waist.


Pick up a tiny portion from the under side of the ribbon's bow and then take another stitch in the back of the shirt.


When you draw up tight on the thread it will pull the bow flush against the back.


Repeat with the left hand bow. Tie off and clip your thread.


I like to have the apron ties cascade down the back. If you want the same first spent some time playing around with the positioning of the ribbon, folding it back and forth over itself works great. Once your pleased with the layout hold the sections in to place with straight pins.


Starting with a freshly threaded needle make a stitch up from beneath the yo-yo in order to hide the knotted end. Come up through one of the folded sections of the ribbon.


Work your way along the length of the ribbon taking a tiny stitch in each ribbon overlap.


As you do so be sure to catch a bit of fabric from the Lily pad cushion underneath so that the ribbon stays firmly tacked into position. Tie off and clip the thread once both apron ties have been secured in place.


The ties will be longer than needed at this point. Before clipping them to the desired length, fold the ribbon in half lengthwise. Position the scissors to cut from the matched edge side up diagonally to the folded edge.


This method will give a bit of a "v" to the end of the tie. A bit of fray check along the cut edge will keep it from fraying in the future.


Not much more to do now!


Next week we'll finally attach the head so have a glue gun handy. And if your interested in giving her a kerchief (which I am) a few snippets of leftover fabric will be needed.