

Step 15 - Introducing Lily!
Are you ready for some tussie mussie fun? It's quick and easy and oh so cute!

First things first.....cut a 1.5" square from a coordinating fabric.

Fold it in half so as to create a triangle. Wrong sides should be together.

Fold it in half once again so that raw edges meet up and another triangle is formed.

Stitch along the raw edges with a 1/8th inch seam allowance and then clip the corners off.

Turn your triangle inside out to give you the cone shaped base of the tussie mussie. A pair of tweezers or some hemostats are often quite helpful to complete this maneuver.

Tuck the top overhanging piece with the raw edges over itself and into the cone.
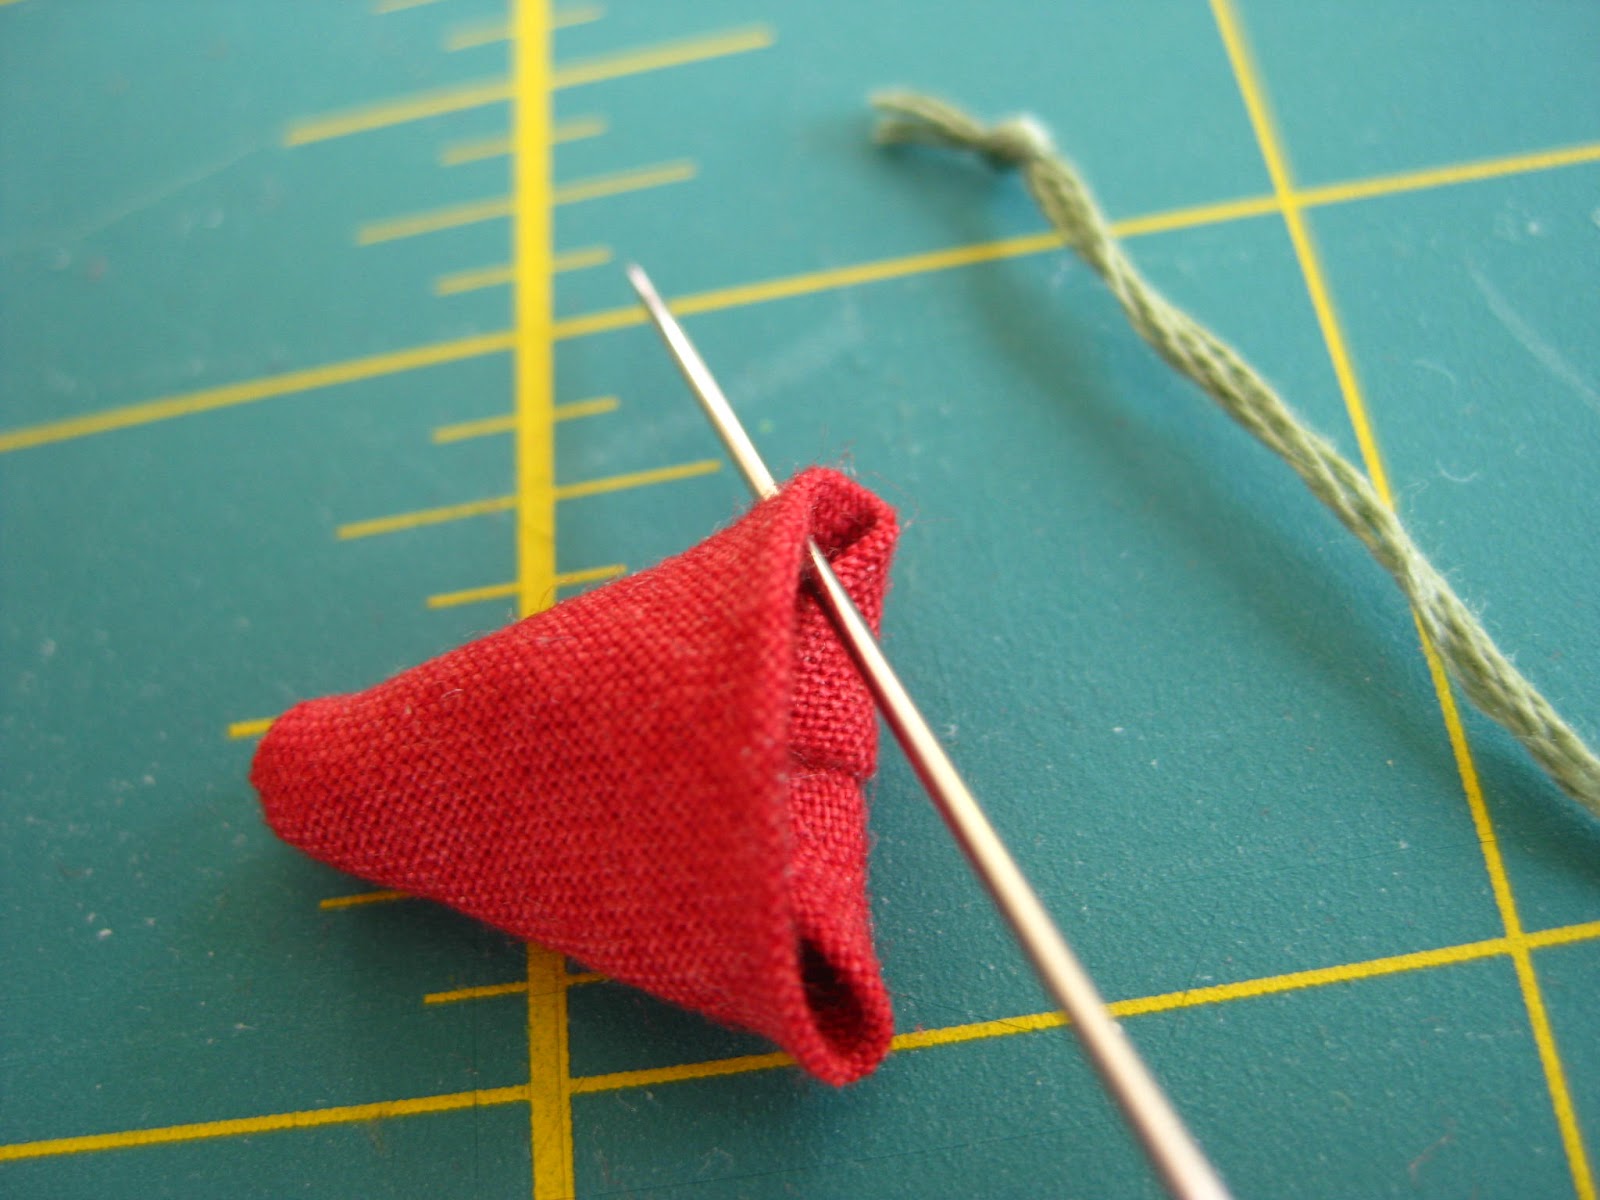
Now for a handle! Thread your needle with a length of embroidery floss and knot one end. Draw the
needle through the cone from the inside left and out.

Repeat on the other side only this time draw the needle from the outside in. Leaving about 1" of floss for the handle, pull the rest through and knot it securely on the inside of the cone.

Clip some of the paper flowers apart and shorten the stems so they will easily fit into the tussie mussie cone.

Very carefully fill the cone almost to the top with a glue gun. . . . .

. . . . .and then quickly position the flowers in place before the glue starts to dry.

The handle should fit quite easily over the Lily's hand. If the flowers seem a bit in the way just squish them around a bit.

Have you decided on a name for your Lily yet? I've chosen Maida for this one. With a permanent pen write out your Lily's name. And by all means don't forget to include you own as well!

A quick coat of gloss and you are done!

And so, without further ado, let me introduce you to Lily Maida, the little maid of May Day!
Thank you so much for sharing your pincushion Lilly. She is adorable. Just wanted to let you know that I made one and posted it on my blog http://sunshineyellow-stitches.blogspot.com/
ReplyDeleteHow generous of you to share this entire process. Thank you for the clear, well- illustrated tutorial. I am just starting to make a few clothespin dolls, and your detailed instructions have helped a lot.
ReplyDeleteI'm delighted to hear you found my tutorial helpful Ann. Hope you have oodles of fun making up you own clothepin dolls...Enjoy them!!!
DeleteThis is so wonderful. Is it possible to buy a completed pincushion doll?
ReplyDeleteSandy in PA
cspn@comcast.net
Hi Sandy, I sent an e-mail to you with all the details. If you don't get it please let me know and I'll try again!
DeleteThanks a bunch,
natalie jo
I just found you and fell in love with your lily! Have saved all the directions and going to go get what I am missing from my stash. Hope to make several for myself and some for my dear daughter and daughter in law! This was so easy to understand...THANK YOU!
ReplyDeleteJo
You are so very welcome Jo!!! I'm delighted to hear you are making some of the little dearies up...have fun! natalie jo
ReplyDeleteThank you so much for sharing the steps to make your delightful pincushion dollies! I adore them & can't wait to create my own! Karen
ReplyDelete