
 Step 11 - Lily's Top
First things first, your Lily is going to need some shoulders to hang her shirt from!
 Have her reach her arms way up high. . . . .
 . . . . .and then bend them out straight again at about the spot where the peg starts to slope into the neck area.
 To keep the arms from flopping back and forth it's best to tie them into place snug against the peg body. Normally I use a flesh colored thread but I figured for the photos black would be much easier to see. No matter really as it won't show in the end anyway. Thread and knot your needle and then pull it through the floss wrapped pipe cleaner.
 Make a stitch back through to the front in order to secure the thread tight.
 Wrapping the thread around the front of the body, stitch through the other arm in the same manner.
 That done, simply start to wrap the thread around under her arms.
 Keep wrapping around four or five times making sure the thread stays taut as you do so.
 Using you needle, gather these wrapped threads together in the front . . . . .
 . . . . . then pass the needle through the opening in the peg. . . . .
 . . . . .to the back side of your lily and repeat the gathering step. Once both the front and the back look like this knot and clip the thread.
 Now for those two top pieces. Loosely pin one diagonally across the peg body with the crochet trim facing the center.
 Criss cross the second piece over the first and re-pin the two together.
 Pick a thread color that will blend well with the fabric of the top pieces and thread your needle once again. Pull it through both pieces starting on the right hand side.
  Take tiny stitches all across the front making sure you catch both layers of the fabric as you go.
 On the last stitch push the needle through to the back portion and once again make tiny stitches through both layers.
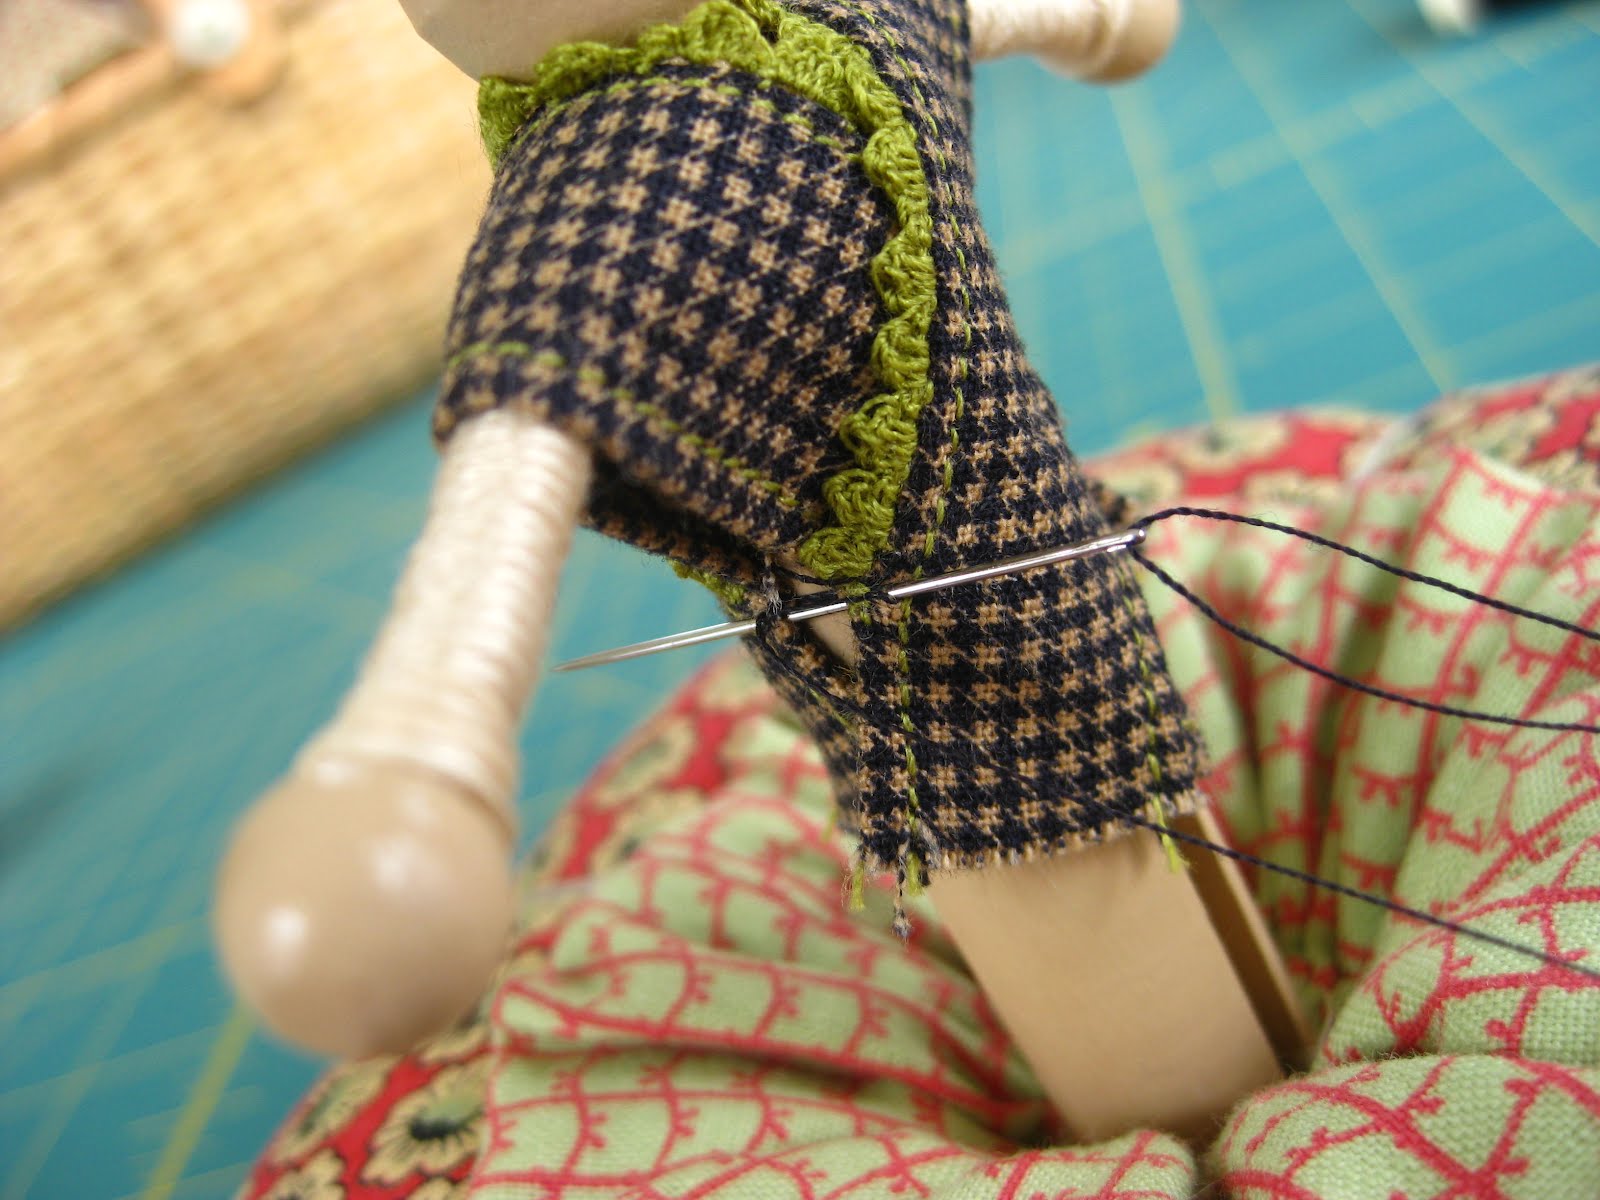 Once you've traveled full circle around the peg take one more stitch securing the front and the pack edges snug together.
 Now that the top is fairly well fitted to the body, it's time to make the sleeves.
 Using the same needle and thread take a stitch through the outer edge of the top piece. Try to position this stitch approximately 3/8" down from the top of the arm.
 Wrap the thread around the outer edge to the back and take another stitch to secure the two sides together. Make 3 or 4 more stitches in this same location to give some added strength.
 Repeat on the other side, knot your thread, and clip it free!
 Feel free to bend the arms into position. It's also fun to try out the Lily's head for a mini preview...just don't glue it on yet or the rest of the steps will be a real challenge to complete!
 Next week we'll add the skirt and some buttons as well. A few seed beads are all you'll need for these.....have fun selecting the color!
Natalie Jo, it is fascinating to see the steps for making your lovely Lillies :-)
ReplyDeleteThank you!
Beth
Do you still have kits Karen spoke about? A for awesome
ReplyDeleteUnfortunately I don't have anymore of the fabrics you may have seen in Karen's particular kit but I am always happy to make a custom assortment up!
DeleteBonjour Nathalie merci.mais comment faites vous pour mettre la tête vous la collez direct comme ça dessus? ou bien vous taillez le haut de la pince à linge pour la rentrer dans le trou ?
ReplyDelete